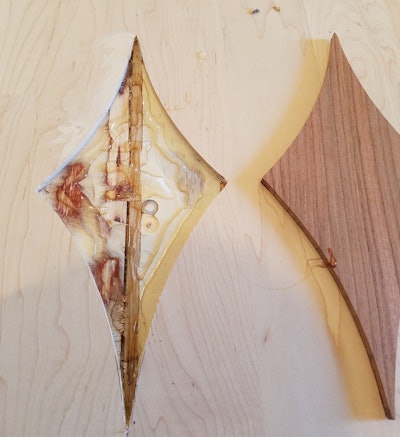
Picking up where we left off on that custom engineered job after the customer had told me he didn’t like the wenge stringing we had installed on the diamond inlays ...
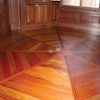
All I had to do was make a new jig for the positive blank and another one for the template. I made it the same way I had made the original ones, except this time I didn’t have to account for the wenge stringing. The inlay itself was one solid piece of jatoba. I made the new inlays bigger than the original ones so I had some wiggle room. I used my template to rout out the void with a plunge router and an inlay bit I had from Oshkosh ...

A few strokes with palm carving tools and some epoxy, and the new inlays were in place.
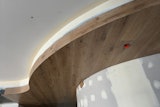
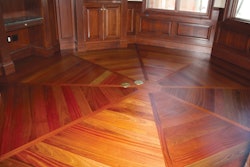
We installed all new baseboards with radius corners this time. The original trim in the house was horrible. Changing all the outside corners into radius pieces to match the base was the right decision. Before then, the home had the baseboards just mitered around them. We don’t paint, but we do a lot of prep on the base, like caulking and hand-sanding the radius corners flush with the baseboards:

We then finished the sanding and applied our first coat of conversion varnish.
The next day we buffed the seal coat and applied the final coat of satin conversion varnish:

The coat was not perfect but hey, neither am I, so we were up for a few touch-ups here and there to make everybody happy.