
It was time consuming sanding the aluminum oxide finish off. Between the hand-scraped face we were trying to remove and the initial sanding, it was mentally exhausting (I am getting older). That job was about 1,000 square feet (92.9 square meter) and it took us about a day and a half to remove the finish and the textured face. We were wearing our respirators (not “dust masks”) throughout the finish removal phase. Even though the Lagler machines were tested for wood dust and there were no visible dust particles in the air, one could still smell the “aroma” of the finish even while standing outside the home. Whenever you sand floors, make sure you protect yourself as much as possible.
Once we were done removing the finish, we vacuumed the floor twice. At this point the floor had an 80-grit scratch pattern from the big machine and the edger. Next we ran the Trio (multi-disc machine) over it with 120 grit. The multi-disc machine is very versatile. It comes with Velcro pads to soften the cuts (donuts) and a weight. Because walnut is so soft, we used the Trio without the weight and with the donuts on. Our 6-inch duo orbit Metabo cleaned up the edges with 100 grit.
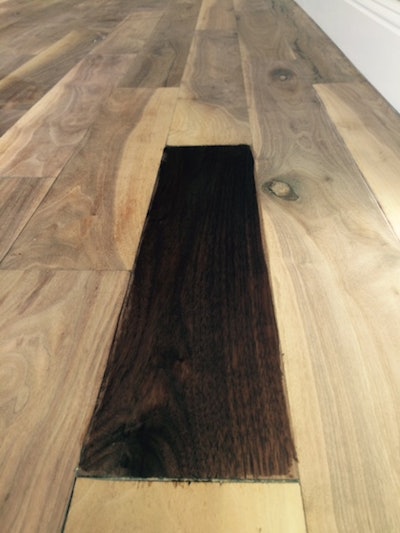
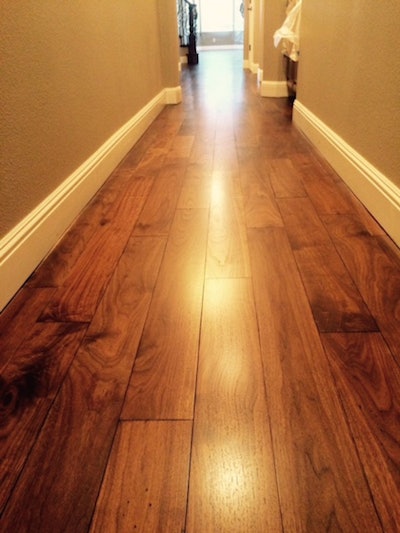
Allow me to make a point to all the contractors out there who stick by guidelines when the client is not happy: This house had glass windows and doors ranging from 8 to 14 feet (2.4 - 4.26 meters) tall. That means a LOT of light. Do you think the “inspecting your floors with medium light from a standing position” applies here? Even I (yes, I’m bragging right now) test my floors when needed before I stain them. I thought I was done sanding, so I stained one board. I didn’t like it. So I ran the Trio again without the weight. Then I stained the board again. Now I was happy. I spent about two hours total in testing and adjusting my final cut to make sure the job was done right. Had I not done it, my client would have probably asked me to fix the floor … got my point? Good. From now on, follow the guidelines for inspecting your finished floors but use common sense at all times. Your client does not care what the guidelines say. Your client cares about what he or she expects from you.

Thanks for reading, my friends.
