If you have ever had a tough time setting up a stop block at "just the right place", then this technique is for you.
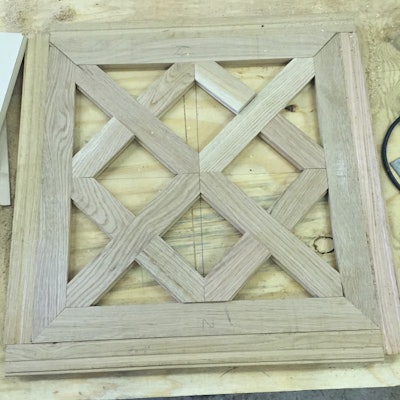
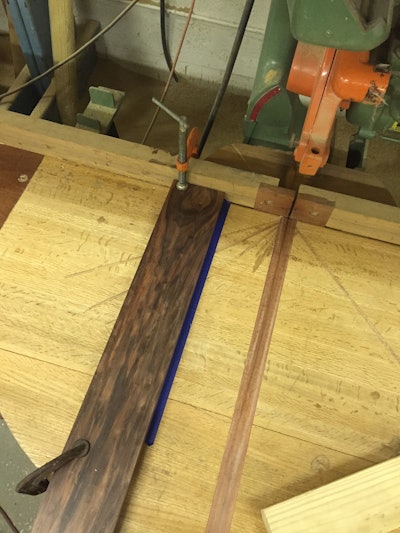
In this photos I'm cutting pieces for this custom parquet, and the pieces need to be precise for a good fit:
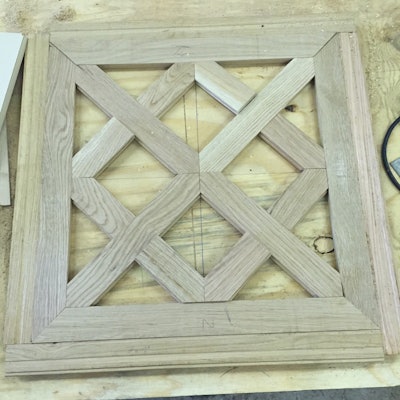
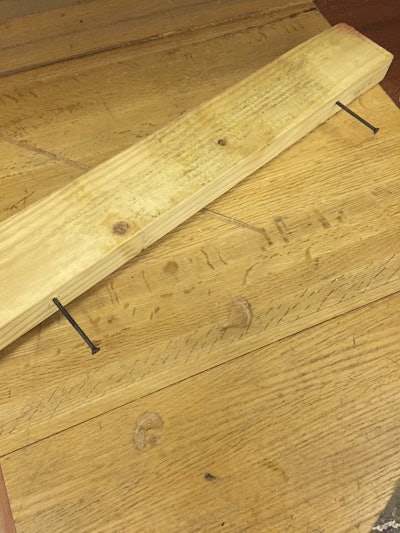
To make my adjustments easier, I utilize a second block (adjuster block) with 2 long screws as the adjusters for the actual stop block. In this example, I'm cutting on my shop radial saw and need an exact measure and a parallel pass for multiple board cuts, cutting 10 pieces per pass.
First you prepare the main stop block where you want it and make a cut:
Make an adjuster block with 2 long screws that you will later turn by hand. Using the adjuster block behind the stop block, place it snug to the current setup:
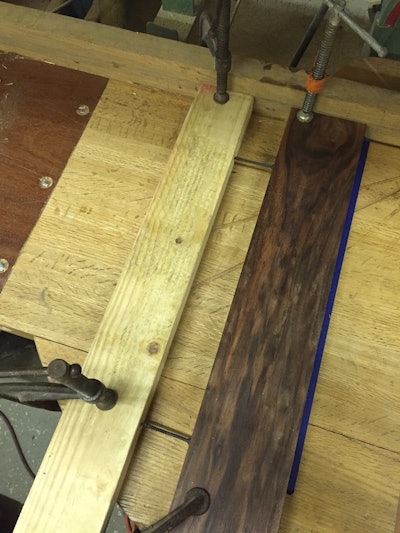
With it all clamped down, make the cut. Measure it and note the number:
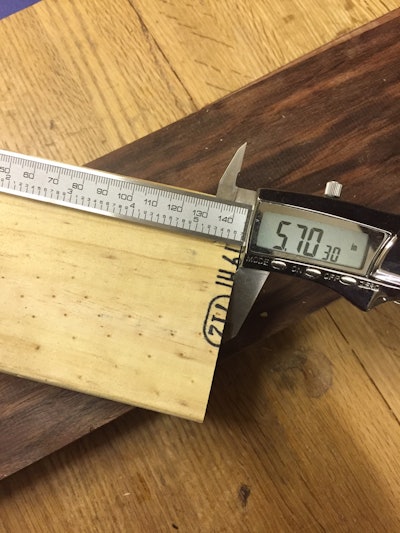
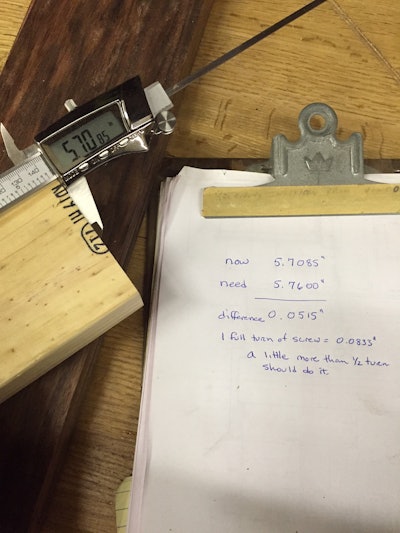
Whatever the difference is, you can now tweak the stop block by removing the main stop block and turning the screws in or out as needed, then resetting the main stop block. Also, the two screws help adjust the stop block to be parallel to the saw cut path so all blocks will be the same length:
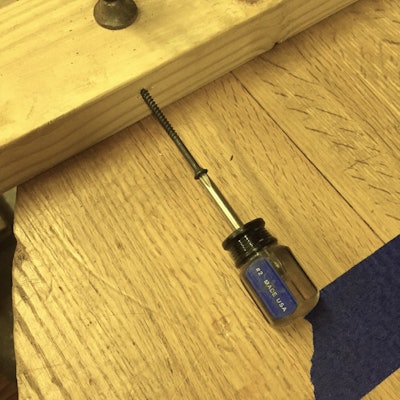
Repeat until the cut you make is where you want it:
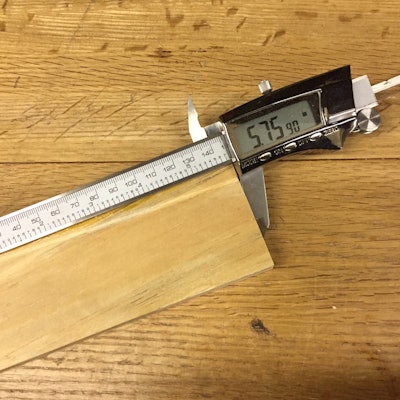
Side note: You can also know ahead of time what the adjustment will be for the screw if you count the threads per inch for the screws you use. In this example, it’s 12 turns per inch, so a 1/4 turn is 1/48" inch of adjustment, and that's pretty nifty!


