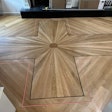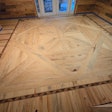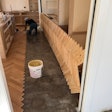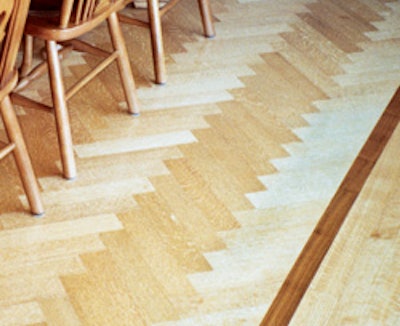
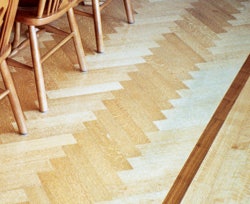
Plenty of installers have gotten into trouble trying to install a herringbone floor. Stories abound of contractors like the one who tried to lay a herringbone floor in a mall—without snapping a single chalk line. If the layout veers off slightly, the mistake can grow exponentially into an installation disaster.
That's why, as with many wood flooring installations, the planning and measuring that happens before a single slat is laid is so vital. Herringbone merits extra caution, because it is an unforgiving pattern. If the floor is off, your customer will know it. Using a tape measure and a chalk line to plan for the best appearance of the final floor doesn't take much time, but it can spare you aggravation, such as when the floor begins to not fit together or seems to wander in a direction you don't want it to go.
The good news is that if you snap the correct lines, follow them and use quality material, herringbone is a straightforward layout that is a definite upgrade from the standard strip, and you can charge accordingly.
Necessary materials:
- herringbone flooring
- adhesive
- plywood
- spline/slip-tongue
Necessary tools:
- tape measure
- square
- chalk line
- drill and screws
- nailer
Step 1:

Discuss with the customer which direction the herringbone should run. Typically herringbone looks best with the points running in the longest direction of the room or directed at a focal point. When that is determined, snap a line down the center of the room.
Step 2:

To establish working lines, figure out what the distance will be between the corners of the slats when they are laid out. To do this, dry-fit a few slats together and snap lines through the corners. Then measure the distance— here, 1 5/8 inches—between the lines.
Step 3:


Or, an alternate method is to use a framing square to mark 45-degree angles off each corner from the same end of a slat. Measure the distance from one corner to the intersection of the lines.
Step 4:

With either method, the distance for this particular floor is 1 5/8 inches. Divide that in half—13/16 inch—and mark that distance on either side of the line. For more accurate lines, you may want to consider using braided fish line instead of the traditional chalk line, which leaves a wider, fuzzier mark.
Step 5:

Snap lines 13/16inch on either side of the original line. Now the red line—the center of the room—will mark the center of the pattern, and the blue lines will be the working lines to use as guides to line up the points of the herringbone slats. Now would also be a good time to transfer some other parallel lines across the floor to use as reference lines later.
Step 6:

A good way to start the first row is to use a plywood backer board. It should be a square piece of the same dimension as the length of the pattern to be installed—here, 12 inches. Line up the points on one of the working lines. Double-check the plywood to make sure it is absolutely square.
Step 7:

Screw down the backer board. With it in place, dry-fit the first pieces to make sure everything is lining up as it should.
Step 8:

Recommendations vary as to how to attach herringbone to the subfloor. NWFA guidelines recommend nailing only; NOFMA recommends using only adhesive. Some manufacturers recommend both nailing and gluing the floor—check with the manufacturer of the flooring you are using.
Here, the floor will be both glued and nailed. Remove the dry-fit boards and spread adhesive for the first few rows, making sure to use the appropriate adhesive and trowel.
Step 9:

Place the first slat. To lock the floor together completely, insert a piece of spline into the end joint before placing the next slat.
Step 10:

Carefully place the next slat and nail it in place.
Step 11:

So that every end joint will be interlocking, insert spline again.
Step 12:

As the pieces are placed, pay careful attention to the working lines visible through the adhesive and adjust when necessary.
Step 13:

As you are working, double-check that the floor is going down straight.
Step 14:

Continue nailing the flooring. For 12-inch material such as this, use two nails per board. Watch for squareness. The way you nail can help adjust the pattern as necessary.
Step 15:

If you haven't already done so, transfer a working line over for the next row.
Step 16:

Start the next row by inserting the spline into the end joint, then carefully placing the next slat.
Step 17:

After you've laid at least three slats in the next row, check for squareness and screw down the first slat of the row. This will prevent the slats from being pushed out of square when you start nailing.
Step 18:

Before going any further, double-check the angles again with a square to make sure the slats didn't move while the screws were going in.
Step 19:

With the first slat screwed down, the rest of the slats in the row may be nailed in. Before the adhesive sets up, replace the board with the screws in it with a good board.
Step 20:

Double-check the distance between the corners and the next line. As you are installing the slats, check this distance periodically to help keep the installation straight. If there are variations in the distance, you'll need to make adjustments while nailing to get back on track.


