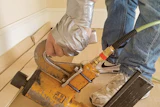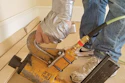
Did you ever wonder why your floor squeaked after you just installed it? Why your nails didn't penetrate the wood? Why dimples appeared on the floor? Why the floor needed to be replaced and you had to pay for it? I got one word for you today: Nailing.
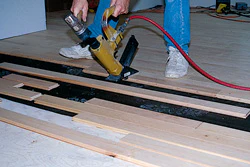
The NWFA Installation Guidelines include a fastening schedule for wood floors. What is a fastening schedule? It is a written plan that allows you to carry out a nailing pattern depending on the type of floor you're installing. Here is an example of what the schedule says for ¾" (1.905 cm) solid strip T&G floors less than 3" (7.62 cm) wide:
"Fastener to be used, 1 ½" to 2" (3.81 to 5.08cm) fastener, or 6D-8D casing…Fastener Spacing…Blind fastener spacing along the lengths of the strips…near the ends 1" - 3" (2.54 to 7.62cm). In addition, every 8"-10" (20.32 to 25.4cm) apart for blind nailing, 10"-12" (25.4 to 30.48cm) for face nailing."
The schedule tells you a few things:
- Length and type of fastener
- Fastener spacing for blind nailing or face nailing
- Location of fasteners on the end joints
Here are some examples to understand the importance of your nailing schedule:
- Using a fastener too short will not give you enough holding power per square foot, and the floor would move more than expected.
- Using a fastener too long might create other problems like hitting the concrete slab under the floor or hitting wires/pipes under your wood subfloor.
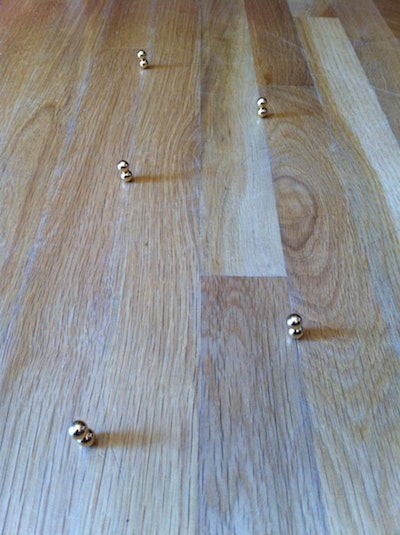
- Using the wrong fastener on exotics or strand bamboo can result in dimples, broken fasteners, broken tongues or just pure frustration because your fasteners don't penetrate the floor but mushroom on the face of it (the product is too hard).

They smiled because they thought it was cool. It was a good lesson because their nail spacing was all over the place. They got the point I was trying to make.
You are already bent over the floor all day with the nailer in one hand, and the mallet in the other. You might as well do it right.