 Snapping good chalk lines is essential to creating well-planned, professional installations that are straight throughout.
I once stopped by one of our jobs where a new worker was starting an installation. About six rows of flooring were down when I got there, and they looked nice and straight ... only they were running parallel to the joists. Apparently, he had asked the homeowner which way she wanted the flooring to run, and that's how he did it. Of course, we had to tear out the flooring and start over.
The above example illustrates the importance of deciding on the right layout before one piece of flooring is nailed. At its most basic, snapping chalk lines is essential for having a straight floor. Beyond that, determining layout for the entire project before the floor is racked out can spare you headaches. For example, if you don't snap all your lines ahead of time, you could lay flooring down a hallway and into a great room, and only then realize that the walls aren't square. By then it's too late to avoid the flooring looking crooked as it butts against the fireplace that is the focal point of the entire room. In other cases, snapping and transferring lines can help you keep the flooring straight as you work around islands or other obstacles. Following are typical steps my company takes to ensure a straight, aesthetic installation.
Necessary tools and supplies:
- Moisture barrier
- Chalk line
- Pencil
- Measuring tape
- Trammel points
Step 1:

Before you start snapping your lines, make sure you've got the right moisture barrier in place.
Here, our installers Anderson Jim and and Matt Gardiner will be installing 1 1/2 inch white oak strip over existing 1-by-6s throughout a hallway and the adjoining rooms. Make sure you know which way the joists are running and plan your layout accordingly.
Step 2:

As you lay the barrier, try to overlap the felt paper such that it won't snag on the flooring as you pull it back to nail it. Staple the paper to make sure it doesn't move once you've snapped your lines.
Step 3:

To start our lines, we find the longest, straightest wall and use that as our reference point. Anderson measures off the wall on one end and marks the floor ...
Step 4:

... and then goes to the other end of the hallway and makes the same measurement.
Step 5:

After double-checking the marks, Anderson and Matt snap the line. The measurement for the line should be calculated so that we'll end up with the same size rips on either side of the hallway (don't forget to allow for expansion around the perimeter).
Step 6:

With the initial line snapped, Anderson checks the line against the wall on one side of the adjoining room ...
Step 7:

... and on the other to see if the walls in the house are square. In this case, they are. If the walls weren't square, we'd try to adjust the line to compensate for the out-of-square walls.
Step 8:

Before we start installing the flooring, we make sure that all the lines for the entire job are snapped.
Here, Anderson and Matt use trammel points to transfer our original line at a 90-degree angle into a bedroom. You also could use a 3-4-5 triangle, but in a tight spot like this, trammel points can be easier.
Step 9:

With the line snapped into the bedroom, we now can use it either to snap another 90-degree angle—creating a parallel line to our original line—or we can change the direction of the flooring to run a perfect 90 degrees to the hallway flooring.
Step 10:

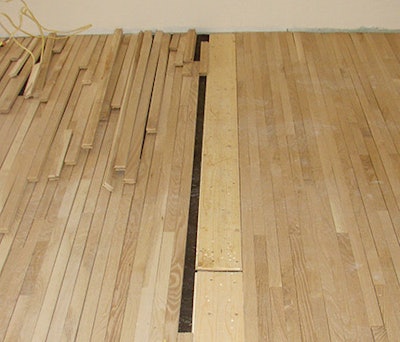
With all the lines snapped for the job, we use our original line to start racking flooring. A long piece of scrap engineered flooring serves as a perfect backer board.