The Problem

The Procedure
The floating engineered Brazilian cherry hardwood was installed in a 1960s house over a concrete slab in a garage that was converted into a bedroom. The contractor had laid an electrical in-floor heating system on top of the old concrete, and then a cementitious self-leveling compound was poured on top of that.
The Cause
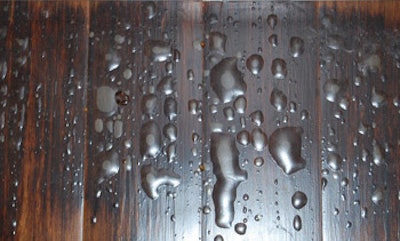
I studied this type of situation in inspection schools many years ago but had never seen it in person. This floor looked like it had incurred the wrath of one of God’s plagues that Moses helped impose on the Egyptians: There were grayish-white blisters everywhere on the floor surface. It was difficult to walk on the floor without bursting a blister, which emitted the smell of watered-down finish (this, by the way, also required me to purchase another pair of shoes). Several of the planks had also darkened, and testing revealed a MC of 22%.
The temperature of the hardwood surface at the time of this inspection with the heat “off” ranged from 59º to 72º F. In two areas only 4 feet apart, the range was from 60.5º to 71º F, a swing of 10.5º!
Two things immediately stood out: 1) The heat was not turned off, although the thermostat was set on zero. 2) There were hot spots throughout this installation.
The homeowner stated the blisters started to appear approximately one week after the heat was turned on. The contractor stated he did not take any moisture readings in the concrete or hardwood, nor did he use a hygrometer.
How is it possible for this unusual reaction to take place? Unfortunately, the bane of our flooring industry is vapor emissions, especially from a concrete slab on the ground. The physical law of nature with the most profound effect in our industry is “wet always goes to dry.” It is natural for moisture to migrate to drier areas. So, it is critical that hardwood flooring and its subfloor be tested for moisture (and, please record your findings!).
Everything that went wrong in this job was preventable by just following the installation instructions. Not only was my client unaware that his heating system was drawing moisture up from the slab and cupping his hardwood floor, but he was also unaware that his heating system, along with the excess moisture, was cooking the finish.
How to Fix the Floor
Of course, this floor had to be replaced.
In the Future
Measuring moisture in the subfloor and wood floor and using a hygrometer to measure relative humidity are all required in NWFA’s Installation Guidelines, as well as most manufacturer instructions. It is impossible for an installer to know if the conditions are ready for the hardwood to be installed without doing so. Following the installation instructions does away with costly callbacks and allows for smoother performing floor systems. In other words, it makes you money!
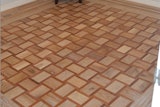
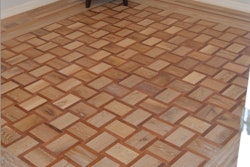
More photos from this inspection: