I get a lot of phone calls from people who say they can’t get the scratches out on the floor they’re sanding. One of the first things I’ll ask is: What color paper are you using? Many people just buy a certain grit number and then sand without thinking about the mineral on the paper. But to understand how to get a flat floor, you need to understand the scratch you’re getting with each type of abrasive.
Know your colors
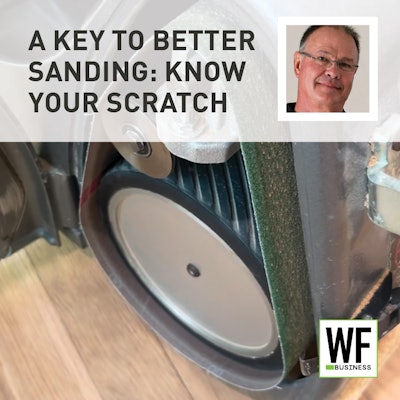
The color of the abrasive identifies the mineral. The industry standard many of us grew up using was black: silicon carbide. It cuts well but is backed by paper, not cloth. It’s a forgiving paper without a severe scratch pattern.
As companies came out with different abrasives, they tried to improve on how long the abrasives would last and how well they would cut without loading up. Today we have everything from aluminum oxide to ceramic and even diamond, or blends of minerals.
RELATED: Wood Floor Sanding 101, Part 1
The cutting isn’t the same
Because the minerals are so different, they give different results even when the grit numbers are the same. A 120 purple paper or blue paper might cut like the equivalent of a 100 in silicon carbide. So when you’re going through your grit sequence, you need to understand how each paper cuts regardless of the number.
Because of advances in abrasives and machines, this also means we can often skip a step compared with what we used to do. For example, I just did a floor with old finish on it. Back in the day I would have had to sand with the big machine and edger with black paper with 36, 50 and 80 before buffing and water-popping. What we did now was sand with a ceramic-blend paper with 40 (it cuts like a 36 in silicon carbide), then 50 with a zirconia blend to soften the scratch, then 80-grit with the same paper on the multi-head on the buffer—and the floor was ready to water-pop.
A common mistake many people make today is trying to use an extremely strong-cutting mineral as they approach their final sanding—and then they can’t get the scratches out. You might have use a sequence more like the one I just mentioned to get results you want.
RELATED: How Do You Know if a Wood Floor Can Be Sanded Again?
Use your flashlight
Customers shouldn’t be crawling around looking for flaws in finished floors, but when you’re sanding, getting down with a flashlight to look at your scratches is the best thing you can do. I’d rather check as I go along and critique myself before someone else comes along and does the critique for me.