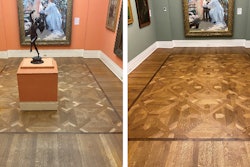
Clean-and-recoats do not have to be a big scary monster that keeps us at bay. Here is a quick outline of procedures that will make them a smooth, profitable operation for your wood flooring business:
1) Do a simple test. First, at the estimate, do this small, simple test that will help you bid the job right: Simply pour a capful of water onto the floor to see how it reacts. If the puddle stays together when you move it around, you can be confident there are no bad contaminants present in that spot. If the water beads up or separates, you know there are issues that will likely require some intense cleaning before you start abrading. Make sure you bid accordingly, or just politely decline recoating and recommend a complete refinish instead.
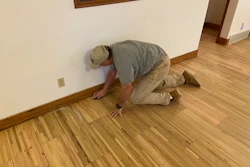
2) Have a cleaning plan. When you show up to do the work, know your plan. Clean as needed and dispose of any rags or pads used for cleaning. Some “approved” cleaners leave a residue on the floor that require a deep cleaning with mineral spirits to eliminate it. When done, use the puddle test again with water to check for readiness. If this does not work, a deeper cleaning with Tri Sodium Phosphate (TSP) may be needed. TSP is readily available at most paint stores. Mix according to instructions, then wet-abrade with TSP solution and a maroon pad. After wet-abrasino, tack-clean with the TSP solution using a clean towel that has been laundered without fabric softeners. After this is done, the TSP must be neutralized by tacking with another clean towel soaked in water. Change towels out as needed depending on the size of the floor. (NEVER recycle a used towel until it has been laundered again).
3) Test again, then abrade. When the cleaning process is complete, use the puddle test to check again. You should be good to go and ready for the dry abrasion. Pick your favorite method here, such as a good-quality 150-grit screen, or a maroon pad with 180-grit strips. There are many other good choices out there.
4) Check de-glossing and clean again. After abrading, make sure the floor is uniformly de-glossed. Vacuum up the dust and tack until floor is clean. Make sure you dispose of cleaning waste and dust appropriately; both the waste and the dust can be flammable.