The Problem
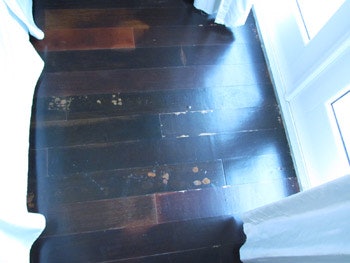
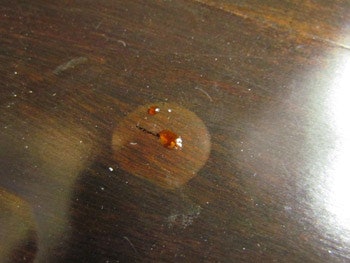
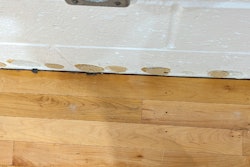
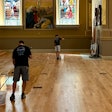
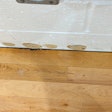
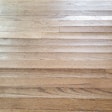
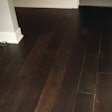
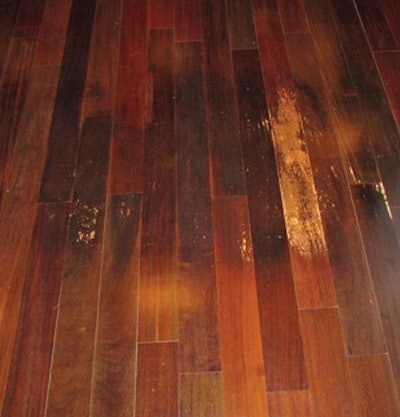
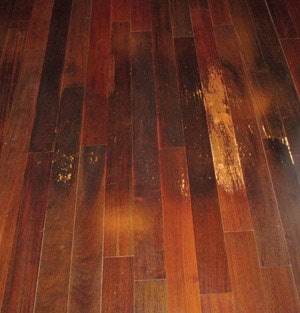
I received a call to look at a 3/8-by-4-inch prefinished smooth Brazilian cherry floor with a dark brown stain in a Southern Florida home because the floor was starting to discolor and show blisters on the surface.
The Procedure
The existing ceramic tile was removed, and the installer used self-leveler on the slab. The flooring acclimated inside the house for at least two weeks prior to installation, and the HVAC was operational before, during, and after installation. The installer took moisture readings and postponed installation of the flooring until the moisture readings were acceptable to him.
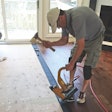
Approximately 1,700 square feet of the product were then glued down to the slab using a combination moisture retarder/adhesive. About four to five months after installation, the discoloration began, and the floor grew progressively worse over time, with the discoloration worsening and finish blisters forming.
The Cause
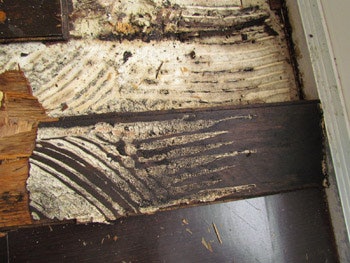
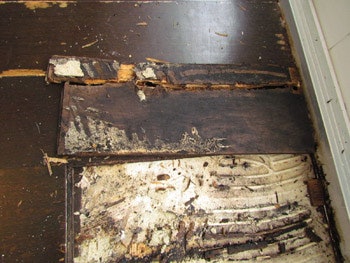
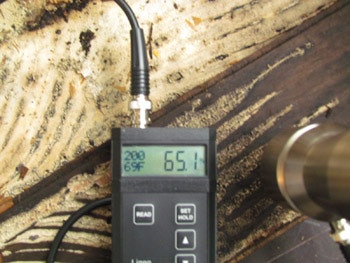
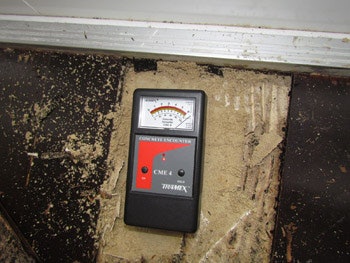
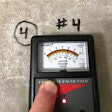
This type of problem is not unusual in our area of the country. Since you can't dig a basement in Florida, almost all houses are built on concrete slabs on grade. Moisture moving through concrete is a constant problem. One of the interesting things about this particular house was that there was no obvious source of moisture: There was no pattern to indicate a plumbing problem, and the house is not on the water, by a canal or in an obvious swamp. The house was about 20 years old and there was no history of moisture problems. But there was so much moisture in this floor that when I broke one of the finish bubbles, water squirted out! The back of the wood was moist to the touch and turning black-it was literally rotting in place. Readings taken with a pin meter revealed results of 56.4% MC at the top of the plank and and 65.1% at the bottom (the saturation point of wood is between 25%-30%).
According to the general contractor who met me at the job site, clearly the wood must be defective. He said that eight 5-gallon pails of adhesive/moisture retarder were used. That sounds like a lot, but the spread rate for the product is 30 square feet/gallon. That leaves the installation about 17 gallons-or about 30 percent-short of the minimum amount of the adhesive/moisture retarder necessary to provide moisture protection. This was confirmed by measuring the thickness of the material. In addition, close inspection of the adhesive showed the trowel notches did not line up with the trowel included with the adhesive. Unfortunately, this problem was foreseeable and nearly inevitable as soon as the contractor made the decision to not use enough of the proper moisture retarder.
How to Fix the Floor
All 1,700 square feet of this floor had to be removed and a new floor installed with the proper moisture retarder.
In the Future
The National Wood Flooring Association Installation Guidelines and Methods, in Section I, Chapter 3, Part IV-B state: "... in on-grade and below-grade applications, adding a vapor retarder is always recommended." For above-grade installations, a vapor retarder is recommended if moisture tests are high. Always, always use the recommended moisture barrier and use the right amount! Four more pails of this adhesive probably would have cost about $900. Now, when you factor in the cost to rip up the old flooring, buy new product and install the new floor correctly, plus account for lost time, the installer is probably out at least $17,000.
