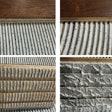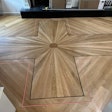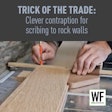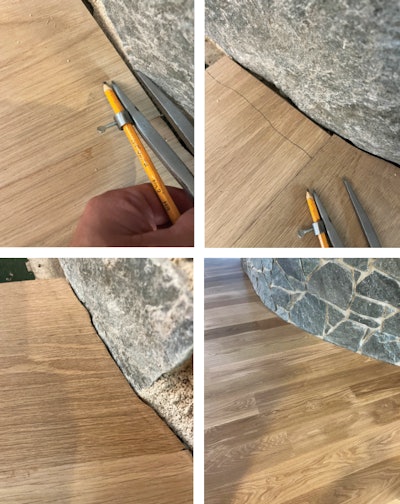
Scribing your wood flooring to uneven surfaces such as fireplace hearths or the round rock wall seen in these photos is a skill that every wood flooring pro should have. It’s a simple process, but you’ve got to be patient.
This particular scribing job was more challenging because I had 8-inch boards, the rock wall was curved and 30 feet long, and some of the rocks jutted out pretty deep into the floor.
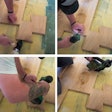
First, the floor needs to be installed up to where you start scribing so the boards won’t move as you trace your scribing mark. For each board, I cut the angle on the end of the board with the chop saw as close as possible to what the end of the board will look like. Then I rack the board firmly against the last row and run a compass with a pencil against the rock wall to trace the shape. On this job, for the really long ones we used a jig saw and touched up the cuts with a small handheld Dremel sander. On the smaller ones, we used a 9-inch bench-top bandsaw and touched up the cuts with a horizontal/vertical belt sander. Because we had 8-inch planks and the boards were up to 10 feet long, I needed my helper to hold the boards as they were being cut. Then I fit the board against the wall to check the cut, adjusted, and did this process over and over.
Areas that had flatter rocks were easier and often needed only one cut. Boards against irregular rocks were more difficult and required multiple adjustments. It took me and my helper two full days to scribe all the boards.
Even though this was an engineered floor and wood flooring swells much more across its width than its length, I still left a small gap between the wood and the rock to be positive there wouldn’t be any risk of squeaking or popping with the wood tight against the rock.
This was an unfinished engineered wood floor, but I’ve also done this with prefinished flooring, and in that case you have to be even more careful during the process to make sure you don’t damage the surface.


