Working to a line is a fundamental of woodworking. It means gradually removing material (wood) to a line marked on the work piece. The precision of the removal is correlated to the precision of the line mark. If you use a construction pencil to mark your line, my guess is that your finished product would look bad. Using a fine marking tool like a knife or a fine pencil is the best way to get consistent results. In a woodworking shop, working to a line works this way: you cut as close as you can to the line using a band saw and then use a router or a drum (vertical) sander to get to the line. I have portable tools and ever-changing job sites, so a jig saw is my substitute for a band saw. Instead of using a drum sander, I used a hand-held belt sander to remove the rest of the material. I learned that trick from a cabinet maker.
So, back to the curved stair nosing we were working on last time. It was time to take the templates to my custom work area (my table saw!)(don’t worry, it was unplugged and the blade was down). I used a jig saw and a hand-held belt sander to create a smooth edge. Then, guiding a combination square and a pencil along the top of the riser, I marked the back curve of the nose on the HDF. I then cut the back side of the template using the same method. To simplify the process, think of it this way: You need to find a precise way to mark the template material and then free-hand the shaping to that precision line.
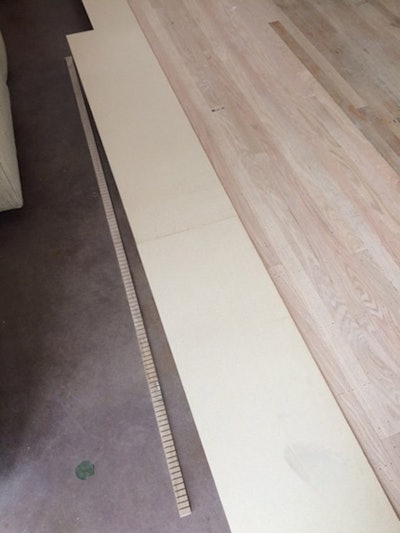
After all this work I ended up with three template pieces made out of HDF. Here’s the initial template material in place:

… and then the template material after I worked to the line:

… and my line marking the back:

The hard part was done. It was time to transfer those shapes onto solid red oak. I bought 5/4-inch (3.175 cm) red oak lumber at the hardwood lumber yard, no, that’s not Home Depot, people! 5/4-inch means the actual thickness is 1 1/8 inch (2.86 cm).
Here is how I look at the process and steps that I followed:
- A nosing piece has a thin part (to match the thickness of the floor) and a thicker one for the overhanging nose.
- In this case I also had two curves to create, front and back.
- Using the templates, mark the lines on the work pieces.
- Cut as close as possible to the line.
- Use a router instead of a belt sander this time:

When I was done with this part I had three curved solid red oak pieces square on all sides:

I needed to remove (rabbet) the bottom of the red oak and then round the front (i.e., nose). My floor was 5/16 inch (7.937 mm) thick, so I had to remove a lot of material from the lumber.
To remove the excess material from the bottom of the nose, I used a two-flute bit on my router (yes, my plunge Bosch heavy-duty, soft-start, please) and routed away (the board on the left is just to support my router):

Then I used a ½-inch round-over bit to create the round profile for the front of the nose.
That was it. Here it is:

Whenever I make a custom product, I care to fill and sand it before I leave just so it looks good. There are other ways to make a curved wooden piece. One is lamination (thin rips of wood glued together) and the other is steam bending. When you figure out how to do what I just explained in this article (that is stress-free, no mess ups and being totally bored while doing it), call me we’ll talk about if you want to talk about the other two ways …