Keith Long here to continue on the hand-scraped walnut herringbone project with a border (click to to see last week's How We Did the Hand-Scraped Walnut Herringbone, Part 2):

It was a great time having John Kimminau of Kimminau Wood Floors from Kansas City out to help Robin and me on this job in Berthoud, Colo. As the field began to take shape, we came upon a couple of electrical fixtures in the floor. After shutting off the breaker to the outlet, we marked and cut a couple boards to fit precisely. We kept it tongue and groove, and took our time shimming the outlet up to meet the extra-thick flooring stock so it was inlaid flush with the height of the floor. Although there were a couple extra minutes spent doing so, the end result was pleasing to the eye:

In my opinion, it never goes out of style to take the time necessary to make the job appear well thought out. Good money is being paid to transform this space, so as long as my company's name is attached to this craftsmanship, it has got to be done right.

Since Robin had cut the pieces of herringbone so precisely, and was so consistent with routing the groove at the just right height and depth, it was a dream to install. She made installing the field seem like a walk in the park. I glued while John fit and nailed with 2-inch 15-gauge finish nails that were blind-nailed into the spline he put in.

Once the field was in, it was time to get John back to the airport. He and I had already done the border pattern that was to be completed on this floor on one of his jobs in Kansas City. Was glad that we could work together so he's now got a herringbone installation under his belt. I am looking forward to future custom jobs where I can hire John to come and help! So, back to that border…

Knowing the total width of the border was 20¾ inches, I measured back from the wall that far and snapped chalk lines. If working by myself at this stage on a floor, I use a nail set to secure the chalk line on one end, then go to the other end to true things up and snap the line. While attempting to mark out some of the shorter lines, without having much wall to work with, I wasn't sure if I was plumb or not. So, once I could get a square on an established line that had been cut off, I got a more accurate measurement:

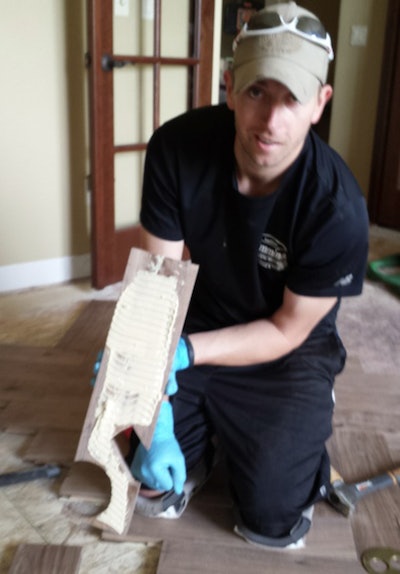
It's so much less hassle to measure twice, then cut once in the correct location. I noticed as I was pulling up the excess pieces over the line that any with glue on them that were over an area that had been edged to level the subfloor were held down much more securely than those pieces that were on top of subfloor that had not been edged (even though they were also glued). So, I opted to put some 36-grit on the edger and scarify the substrate all the way around the perimeter where the border was to go:

Depending upon how much custom installation a person does, a track saw can come in handy. The same thing can be accomplished by securing a straightedge to the floor in the right location, then using a circular saw. The setup pictured below is user friendly, as there is no fastening or measuring necessary. The guide rail has a neoprene backing that stays in place. I set the edge of the track on the chalk line, and the saw runs in a channel on the track for a precise cut. There are a few brands on the market now; this one is a Festool TS55. Festool also makes a larger TS75, but for flooring, the TS55 has done everything I need, and is lighter and less bulky. With a special attachment that comes stock with the unit, this saw can cut with no chip out on either side of the blade. The depth is adjustable, and is so precise that it can be set to cut the wood without getting into the subfloor. Another advantage is it can be hooked to dust containment:


Once at this stage, I hand-scraped any overwood around the perimeter of the field down to make a fairly smooth surface. Then, I ran a groove router bit on a D-handle router around the perimeter of the field at the same depth as the rest of the flooring and installed spline with Titebond glue and 2-inch 15-gauge finish nails. It's now ready to accept the border, which Robin took to like a duck to water:


When the correct amount of planning is done before a job begins, it makes these more involved aspects of custom flooring manageable. On the subject of recipes, my wife claims, "If you can read, you can cook!" When mapped out on paper, any pattern in hardwood flooring can be broken down to its simplest forms, quantified, and turned into reality. Let's meet up next week to get this border in and close out this project. Until then, stay sharp!