


 An area where we had to use the plunge router to remove existing wenge before gluing on new veneers.
I blocked about three weeks in my schedule for that project. Normally I would block half that time or less for that size job. But this was not “normally.” I’ve been there before; what normally takes a day would take twice as long on a job like this. With the added time in labor, extreme pressure from the owners and their designer team and very high expectations comes a price. The price is correlated to the value I bring to the project: the knowledge, experience and problem-solving skills I acquired over the years through the training schools, my friends and colleagues and my own work.
The general scheduled a time slot for me two months ahead of time, but guess what? He wasn’t ready for us when we showed up. We had to spend a few hours helping clear the site from all the other subs and their equipment while we took over the job. To make things more complicated, the designer decided to add repairs to the floor where walls were removed. Keep in mind: Wenge lumber is not readily available. Three weeks before we were scheduled to start the work, I needed to source about 200 lineal feet of 3/16” x 6” solid wenge lumber. I did. When I came to pick up the lumber, my eyes went numb. The warehouse guy who was very excited about what they had just milled for me, led me to a pile of five-foot-long quartersawn wenge. My immediate response was, “Why am I not getting the 10-foot-long lumber we talked about, and why is it all quartersawn?” This material took about three weeks to source, and I was about four days away from starting the job (and you ask me why I drink wine…). Did we say pressure? Oh, and I paid in advance for that material. Let’s just say that it was thousands of dollars and that was a very bad day for both me and the supplier. Long story short, we got the right material only a few days late. It was ¼” not the 3/16” I originally ordered. The milling place said 3/16” was too thin to mill and that the wood was bouncing on the thickness planer. That caused torn grain and they didn’t want that. Oh well, at least we got the material.
 The flooring with the veneers removed.
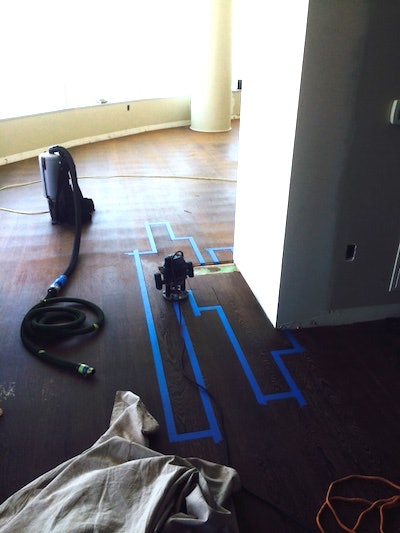
One guy started belting with 80-grit. My other guy was edging with 100. When removing aluminum oxide finish, these are the grits to go with. (I have talked about why these grits work and NOT 36 grit in other posts.) In the meantime, I set up my plunge router and started routing out the veneer. Where needed, I glued down ¼” cork and ½” Baltic birch plywood to bring the height up. Next was chiseling the corners and fitting the wenge veneer. I ordered the material at 6” to allow for some shrinkage on site and then milling it to the correct width. We used urethane adhesive for all the glue-ups with additional 23-gauge pin nails through the face to hold the veneer in place. Once dry, we sanded the veneer to the correct height to match the existing floors.
After the sanding was completed, we applied two coats of dewaxed shellac and one coat of satin polyurethane. All done. Questions? LOL.
 This is the area where the GC removed all the material for a repair; here we are dry-fitting the cork, plywood and veneer.
• Veneer knowledge: What is veneer? How does it behave? How do you glue it to large surfaces? Medallion building experience comes really handy here. It’s worth a lot to go to the NWFA medallion school.
• Wood anatomy: Know what quartersawn look like vs. plainsawn. Know your woods. There is no wenge test kit you can buy to identify woods.
• Routing: Using plunge routers. Knowledge of how to free rout (with no jigs) for material removal. Know what bits to buy and use. Know how to move the router through the grain of the wood.
• There is no manufacturer recommended system for what we did on that job. Education, experience and common sense made that floor job successful. Note that education was first!
• Problem solving. Oh, I forgot to tell you: we did two minor repairs to test our system and it failed. What was the failure? The glue type. Usually when making glue-ups with veneers to core plywood like medallions, PVA glue is the way to go, assuming you’re using a vacuum press or other clamping devices. In our case the only thing we could use was the 23-gauge pins. The dry wenge (we were on the 41st floor) absorbed the moisture from the PVA glue so fast it cupped within 10 minutes. The material had to go to the garbage and we ended up switching to a urethane glue (in this case, T35 by Sika). Any other urethane adhesive would have worked just fine.
• Pressure: Some people fold and break under pressure, some people shine. With training and constant learning, you can shine, too. It’s fun.
 The completed job.
Merry Christmas, and Happy New Year!
I think it is time for a winter break to let Toby Merrill start writing ...


