


Back to that complicated engineered job from last time…
Some areas called for border work, so we started out with the layout. There are the tools I use for layout on concrete where it is hard to see any pencil marks:
- Trammel points
- Light color tape
- Sharpie
- Pen
- Tape measure
- Two people (that would be you and another floor technician)
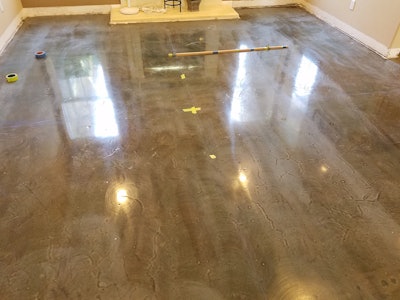
I spend quite some time laying out a floor. It is the most important step in the plan. We had two different type subfloors (one concrete and the other OSB), five changes in floor directions, a medallion at the entry, borders with diagonal fields, stairs with stair skirts … and that was just the start. Things evolved into more elements over the course of this job. Here is our concrete slab with epoxy:

We laid out the borders, medallion location, starting points in each area and then started dry-laying the floors. When laying out a floor it is a must to use two people to do the layout. Burning an inch to achieve precise layout (which will end up being a not-so-perfect install) requires two people. It’s also nice to have someone double-check your own double-check system.
We installed the field first in the areas that required a border, then trimmed the edges, splined them and built the border in. We dry-laid the entire floor, marked it with pencil lines and sometimes numbers on the border frame. Then we stacked it all up, spread the glue and installed the floor. I find that this way to be quick and close to mistake-free.
If there is anything you need to know about me, it is that whenever we do a glue-down, I find the glue and get it all over me. Whenever we apply finish, I find the finish and step on it. It’s just the way I am. When we do installs like that, I try to make everything neat—from the install process to where the glue bucket and trowel go when they are not in use. Here we have our cutting station set up opposite from where we are laying the floor:

Anyway, remember to set your track saw depth shy of the thickness of the floor so you don’t cut into the concrete. Finish trimming the field with hand tools.
This client ended up making us lunch and offering beverages on a daily basis. Not just any lunch; here we are having a lobster and tri-tip steak lunch:

Anyway, the client kept adding decorative elements into this floor. That threw my schedule and my brain off. One thing that changed was an office layout. It went from a simple diagonal field with a border to four quadrants on a diagonal, narrow cross strips and a medallion. And oops, hold on, the medallion changed to a custom inlay a couple of weeks later!
We installed the field, trimmed it for border work and cut out the voids for the two cross strips in the middle of the floor:

I left my guy there to inlay the pieces and dry-lay the border. Long story short, hours later I was sitting in my home office trying to keep track with life, and I got this text with a picture. My client said: “Weren’t the strips in the middle supposed to be maple?” I texted back: “Yes” and in my head I went “*#%@” as I was looking at my phone zooming in on the picture to see the strips installed:

Turns out my guy installed Brazilian cherry instead of maple. I wrapped up my things and took my kids to their karate class. Why am I mentioning this? Because in my head it didn’t matter. Anything that is work-related can’t be that important to dominate my life. There is nothing that can’t be fixed. I called my guy with the hopeful thought that he didn’t glue the strips yet … but he did. Oh well, I guess I had some extra work to do the next day. I set down to watch my kids for 45 minutes and enjoy the rest of the day.
The next day I cut out the Brazilian cherry strips and replaced them with maple:

It took me longer than I wanted, but, hey, you can’t win them all.
Next was the medallion install.
We’ll talk about that next time, my friends.
Be cool.


