Greetings and salutations, Keith Long here with Thunderheart Flooring in Greeley, Colo., to continue with the project where we have been converting a living room from carpet to hardwood flooring, laid on the diagonal with a double-picture-frame border (see Part 1, Part 2 and Part 3).
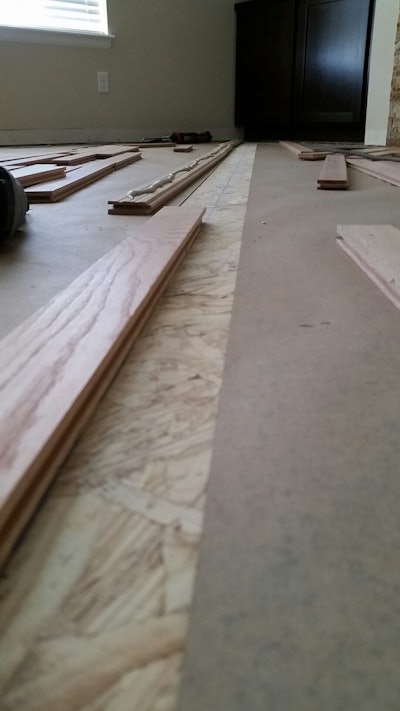
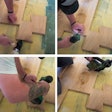
I do everything I can to produce high-quality floors, while at the same time be as efficient as possible. For the first row, I prefer to the rack the boards out upside down. That way, I can put urethane adhesive down on the entire row at once, then flip each board over and blind-nail them in, with the groove side running along the chalk line.
I personally use a 15-gauge finish nailer to blind-nail through the tongues of the first two rows, then get going with a 15-gauge cleat nailer after that. I have tried using a palm nailer at this stage and found it to be slow. For those of you who prefer the palm nailer, which administers cleats instead of finish nails, great! I have found the finish nailer holds the first two rows in place until the glue dries, which is what I want fasteners at this stage to do.
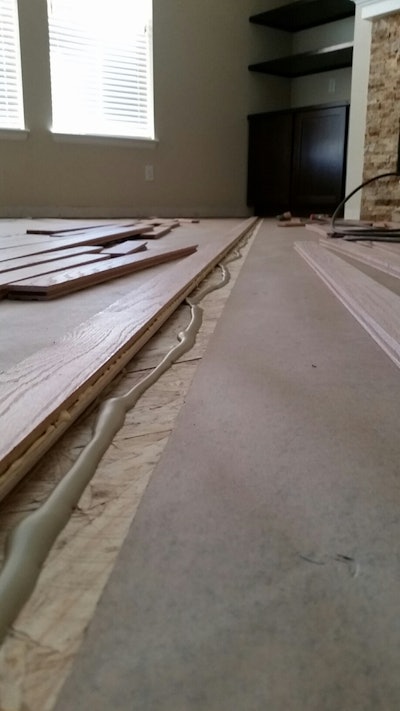
For the second row, I put Titebond (yellow glue) in the groove of the first row, then tap in spline (slip tongue). I blind-nail through the spline with my finish nailer, then put some more Titebond on the newly created tongue. For the second row, I find it easy and efficient to apply the urethane adhesive to the subfloor, then build the second row.

I’m careful to apply adhesive only where the field will remain. Any sort of glue beyond the chalk line where the field ends and the border begins will make it difficult to pull up the excess wood once the border is cut off. Note that both the tongue and groove sides of the length of the board must clear the chalk line. That way, when the border is cut off, the field has wood everywhere it needs to be.
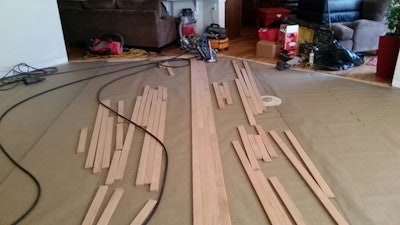
Once the first two rows are in, I like to use a fairly heavy graphite-handled flooring mallet for the setting of wood in the subsequent rows. Since I was working by myself on this job, I went down one row and back up the other, taking me back to where I started. I then put that heavier mallet down and took my 15-gauge Primatech cleat nailer and Lixie mallet. The Lixie is lighter, and the head is filled with shot. Growing up, I heard this type of hammer referred to as a dead blow.
It reduces the amount of vibration sent up through a person’s joints. It’s extremely comfortable to use, and since it’s lighter than most flooring mallets, it reduces fatigue. On this one room job alone, there are a few hundred boards, and over 2,000 cleats holding the wood to this subfloor. Since the Primatech cleat nailer takes only 4 pounds of pressure on the bump to get a cleat to set, I choke up on the handle of my Lixie, hit lightly and move quickly. This also helps to avoid blowing the first couple starter rows off the chalk line while getting these next couple of rows in.
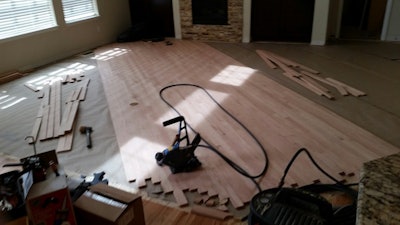
For floors on the diagonal, I carry on in this same manner for the field, mocking up a row down, then a row back with a heavier mallet, then cleating those two rows in, also down and back. As I need more bundles, I grab them but try not to get too many bundles in the field at once while starting from center. My reasoning is I want to avoid having extra wood in the way that can hang up the air hoses as I work.
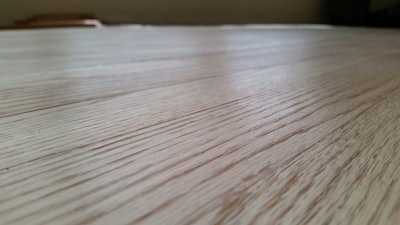
We are now able to reap the benefits of what we have sown earlier on in this project—that is, the time spent properly preparing the subfloor. The wood is installing like a dream because the substrate is flat and clean. I have found that on most job sites, I can do my initial pass on the big machine with 60-grit.
This saves a ton of time compared to fighting the installation over a roller-coaster subfloor that does not get properly prepared, then having to break out a 36- or 40-grit belt to sand off a chunk of the wear layer of the flooring trying to get things flat. I believe that giving the subfloor the attention it deserves before the laying of wood is the overall fastest way to a finished product that is going to look good, have the most wear layer left on it and stand the test of time.
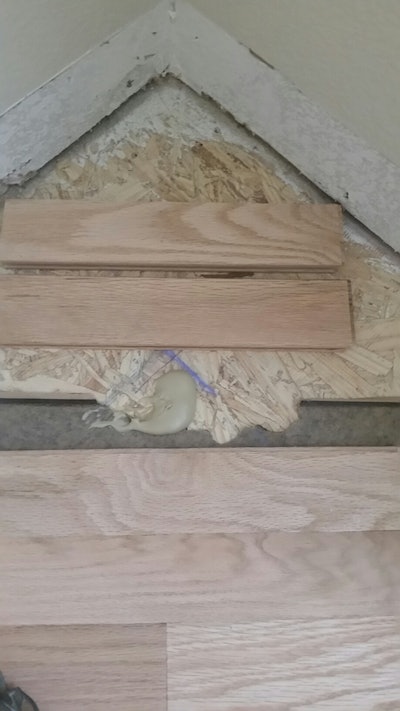
For the last couple of boards to install on the tips of the field, I use urethane adhesive on the floor and Titebond on the tongues. Then, I place face nails beyond the field to hold these boards in place until the adhesives dry. I’m careful to place these face nails so that they’re not in line with where I will cut off the border with the track saw.
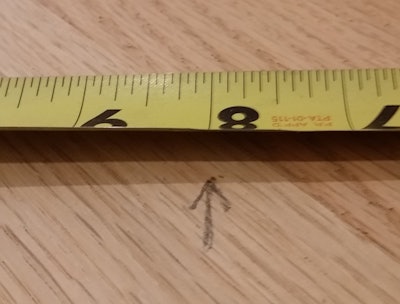
I measure off the drywall 8 inches, 3 for the select walnut and 5 for the select red oak in the double-picture-frame border. I don’t generally measure out from the very corner of rooms since the extra drywall mud used to go over the taping of the corner seams can potentially have the wall bulged out a bit there. I come in about 6 inches or so. It never hurts to sight down a wall and look for any significant variations, and measure off points that look reasonable.
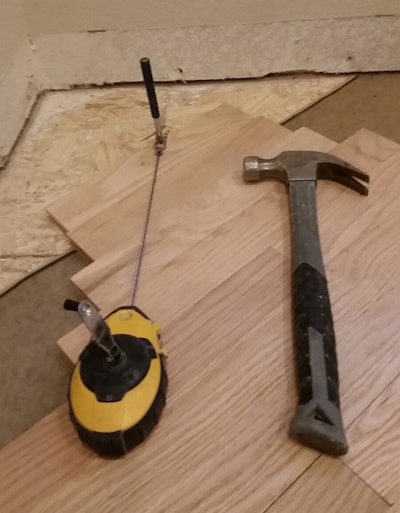
In the same fashion as was done on the subfloor, I used a nail set to hold one end of the chalk line and snapped all around the perimeter through the measurements 8 inches off the wall. If a couple of the marks are slightly off, it doesn’t concern me much. Drywall varies—so long as trim will still cover any variations, I proceed.
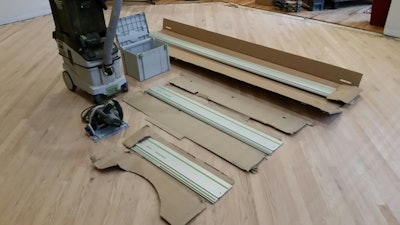
I use a Festool TS 55 track saw to cut off for the border, which can be hooked to dust containment. Some of these tools cost a chunk of money. However, I have found them to be extremely reliable. Over the long term, I view them as a good value in time savings and longevity. I find I use them on almost a daily basis while installing.
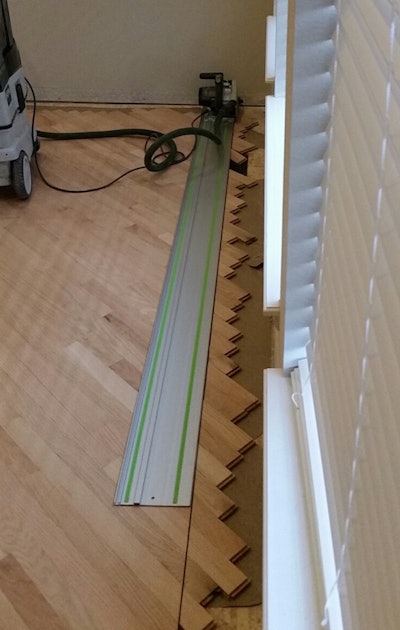
Although these tracks can be connected together with keyways, I typically move them forward and continue to cut on the long runs. I have found them to be precise enough to make a straight line, even in multiple cuts on the same line. I use an oscillating saw to cut the inside corners of the border.
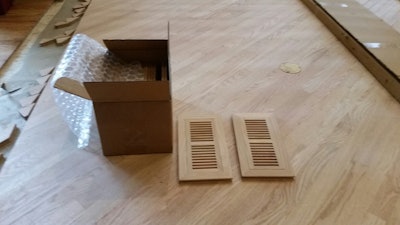
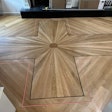
Brethren, the field is in, and cut off to accept the border. Let’s congregate next week to install these flush-mount vents and get the double-picture-frame border in.
As the old cowboys from around here say, “Check your cinch on occasion.”
Stay sharp!


