Hello all, Keith Long here with Thunderheart Flooring, based out of Greeley, Colo. We just went through a five-part series on how to convert a living room from carpet to installing select red oak hardwood on a 45-degree angle with a double-picture-frame border (see Part 1, Part 2, Part 3, Part 4 and Part 5). Let’s meet up a few more times to do this new series on the specifics of my sanding process for that same floor.
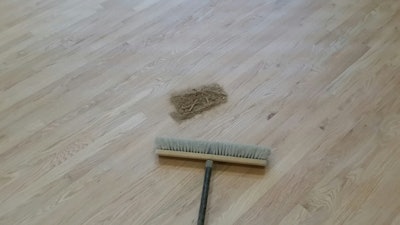
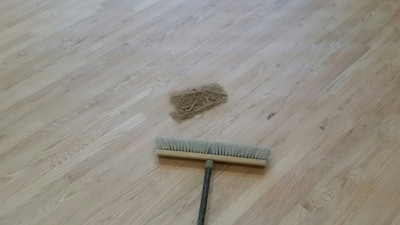
After getting all install tools off the floor, I swept up the area to be sanded.

Next, I vacuumed, first with the pipe attachment around the perimeter, then with the bristle attachment in the field. I believe that a clean floor is the best thing to put my sanders on and sets them up to run optimally. When sweeping only, debris from the install could still be on the floor—a clipped off head of a cleat, a T 50 staple from fastening down the underlayment paper, a stray finish nail—any of these could wreak havoc on the drum of the big machine. So, I vacuum before getting my sanding equipment on site.
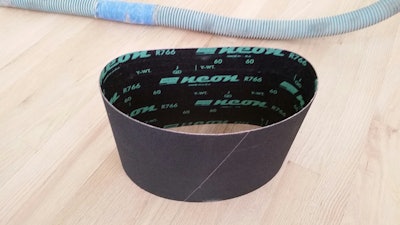
Because the subfloor was so meticulously prepared, and the milling on the Missouri Hardwood mill was good, there was not much overwood to deal with (spots that are relatively higher or lower than others). As a result, I chose to start on the big machine with a 60-grit belt. As far as brands of sandpaper go, I have used many different kinds over the years. I decided to go with a nice middle-of-the-road quality belt on this floor, one I thought would be just about to the end of its life span when done with this grit, based on the square footage of this room.
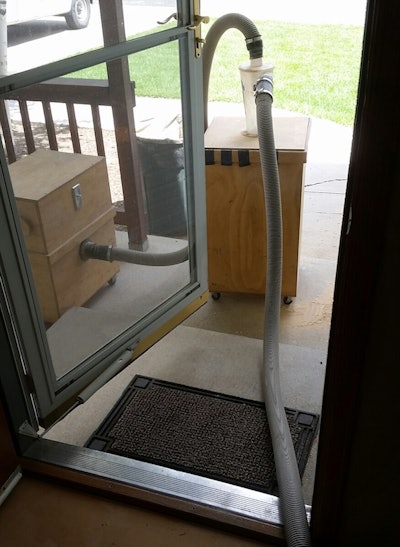
Over the years, things have evolved with my processes pertaining to hardwood flooring. I imagine that trend will continue. A couple of years ago, another hardwood floor guy in my area that’s a mad scientist/inventor-type designed and made himself a dust containment system. I saw it run and liked how it performed. It can be hooked to the big machine, edger or vacuum wands, if desired. I hired him to build one for me and have been using it for over two years as of the time of this writing—it runs great!
I am considering taking a weekend and building another one of these dust containment systems with this fellow. That way, I could take step-by-step pictures of the process and post on how to build this unit—materials, motors, construction process, etc.
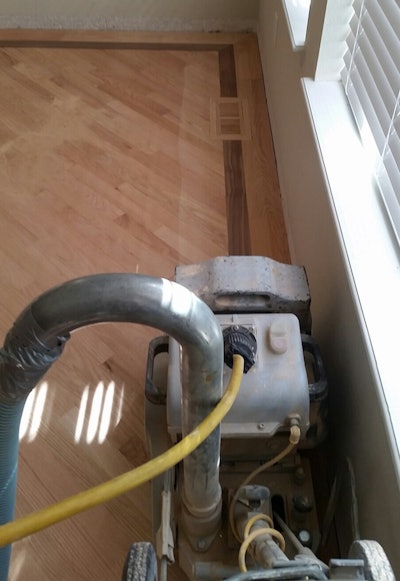
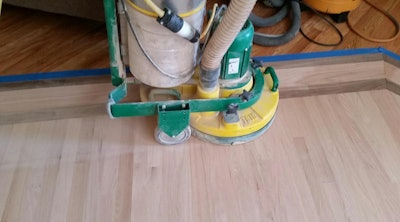
Since this floor had a picture-frame border, I opted to sand the border first, then the field. Some guys I have worked with jump up and down and make lots of noise when I do this, claiming it’s not a good idea to put cross-grain scratches in those few inches of the field that the drum touches at this point. I gauge what I do in my business by what the end result is. Since I can achieve a flat floor in the end by doing this, and it is faster than edging this entire border area, I do it. It helps move the project along and doesn’t hurt anything since I still end up with a flat floor.
To know whether a big machine should cut right to left, or left to right, please see one of my previous blog posts here.
I bought my big machine 10 years ago used. I like how it performs but am not stuck on this or any other brand. I could afford it at the time, and it does the work. I maintain it, and it continues to serve me well.
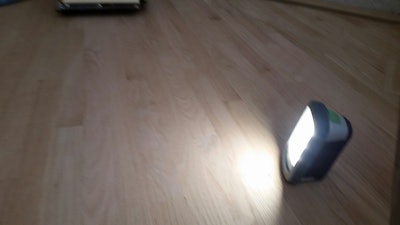
Once I start big machining in the field, I probably only go four or five passes from left to right, then get out my light. I get down on the floor to look and feel that the floor is flat under the scrutiny of this bright light. If anything were awry at this point, I would make adjustments (in sandpaper grit selection, machine tracking, etc.) until I am satisfied that the cut is appropriate and flat. Once I confirm that all is dialed in, I proceed with this rough cut of the floor.
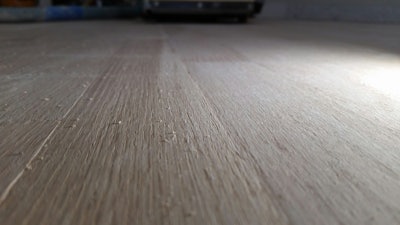
For the rough (first) cut with the big machine, I run at an angle. Many of the hardwood flooring classes I have been a part of suggest a 7- to 15-degree angle, which is what I do most of the time. However, these numbers are just a guideline. Depending on the circumstances, I may sand at an even more aggressive angle than that. So long as a person keeps going until the big, noticeable scratches are out before stain and finish, and the end product is acceptable, I believe that is the key.
For this rough cut, the main reason I sand on a bit of an angle is to avoid sidecut. This can happen when sanding straight with the rows of boards and coming up on a board that is installed higher than the area that is already sanded. The lead end of the drum riding up on a high board can cause the trailing end of the drum to dig into what has been already sanded and cause a gouge. When coming onto a board like that when you are on an angle with the big machine, the chances are better that the drum will stay flat and not ride up and cause trouble.
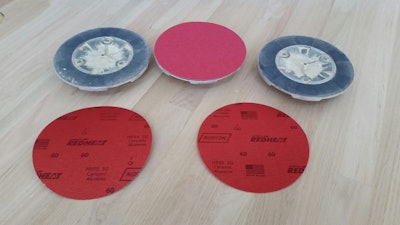
After the field was big machined with 60-grit, I got out my multi-disc sander. Just as I have mentioned with other pieces of equipment I own, I am not stuck on one particular brand. There are many manufacturers out there. To argue that Ford is better than Chevy, Case is better that John Deere, etc., I perceive to be non-productive. I bought what was available at the time I was in the market for a multi-disc sander, and I bought it used. As with my big machine, I maintain it, and it serves me well.
I’d like to point out on the above picture that I put 60-grit paper straight on the drive plates, with no donuts or pads. I had heard of this technique years ago but didn’t apply it then. I didn’t respect the flooring contractors I heard the information from, so I didn’t try it.
Within the last year, Ben Kimminau, owner of Kimminau Wood Floors in Kansas City, Mo., told me the same information about putting 60-grit paper straight on the drive plates of his multi-disc sander and going over the floor right after the rough cut with the big machine. He shared with me about how pancake-flat it was making the floors at this stage, and that their finished products had never looked better.
I had just done the rough cut on an American cherry floor when he told me about it. Normally, I wouldn’t get the multi-disc sander out until the end of the job. I respect Ben and was intrigued by what he said. So, I got the Trio out of my work van and gave it a try.
I felt a bit like I was hanging my junk out in the breeze as I fired it up and touched down, especially on wood as soft as American cherry, which I ended up staining Provincial. I have found the technique to be a wonderful addition to my sanding process. Specifically:
1. The floor was flatter after doing so
2. There was much less edging to do
3. There were almost no low spots that may normally require attention with the fine cut
4. I used less wood filler while trowel-filling
5. The end product looks more flat and uniform.
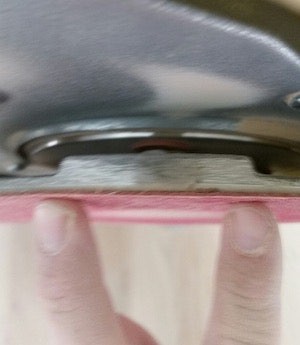
I have been told that to increase the PSI (pounds per square inch), hence the aggression of cut, these drive plates are designed so that only half their surface touches the floor. With no donuts or pads between the plate and the paper, I find that after 100 to 150 square feet, the paper becomes worn in the areas touching, while not so much in the areas that are recessed on the drive plates. To get maximum use of the sandpaper, I keep track of a point with my finger while I peel the discs back, rotate them the distance of where it cuts, then stick them back on. That way, the portions of the paper that still have life in them can be utilized. I can probably go another 100 to 150 square feet before having to switch.
This job was only about 300 square feet, so one set of three sandpaper discs did the trick. I typically go around the perimeter first, then go cross-grain to the rows of boards in the field for this cut. Toward the end of the sanding process, I go with the rows of boards when using the multi-disc sander.
I hope this helps! Let’s carry on next week with this sanding project as we edge, vacuum and fill.
Until then, stay sharp!


