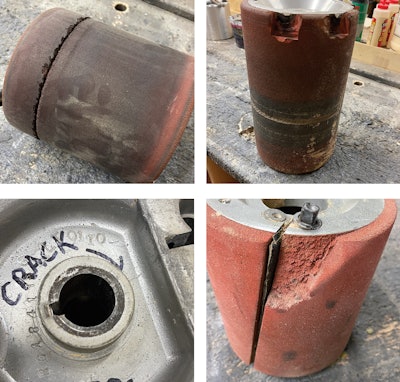
At my company, we tend to see big machine drums when things have gone drastically wrong: chunks are missing from the rubber on the drum, the drum is literally full of sanding dust, the abrasive is melted onto the rubber ... and more! There are some things you can do so that your drums on your big machines don’t end up in that situation; here are some tips that might help you get a longer life for your big machine drums and ensure you get better, more consistent sanding in the meantime.
Three important components
There are three components to a good drum on your big machine:
1) The rubber is sticking to the drum (not delaminated).
2) It’s perfectly round.
3) It’s in balance (the weight is evenly distributed across the drum).
If the rubber delaminates, that’s a catastrophic situation. When it gets out of round, it will give you vibration and will jump on the floor—dressing the drum will take care of that situation. Being out of balance will cause vibration, as well.
RELATED: Wood Floor Sanding 101, Part 1
Common problems
Some common issues we see with drums:
Not blowing it out: You should blow out your drum with an air compressor after every job. Some drums are easier than others for the sanding dust to get in there, but the drum spins so fast that a little sanding dust gets forced in eventually on all drums. We get drums that have sanding dust packed into them, which will unbalance your drum.
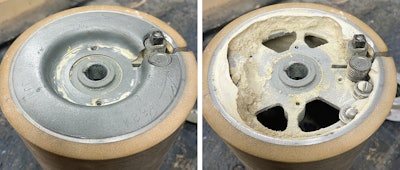 Opening up this drum revealed the amount of sawdust that had built up from not blowing out the drum on a regular basis.
Bad storage: When you are transporting your big machine or it’s sitting for a week, you don’t want to get a flat spot on the drum. Be sure you loosen your sanding belt and your drive belt and store your machine without any pressure on the drum.
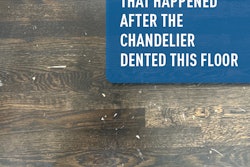
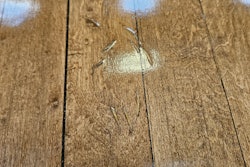
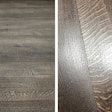
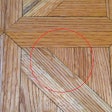
Drum damage: The most common damage is from hitting nails—you’ll get those lines in the rubber, which can start to put lines in the floor when you’re sanding (see the photo on the top left of this page).
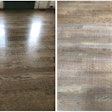
Uneven wear: Sometimes we’ll see an issue where the machine is not set up correctly, which is wearing the drum more on one side.
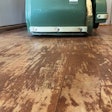
Too much heat from sanding: A big issue that we didn’t used to see is happening with riding sanders, and that is the sandpaper heating up and getting stuck to the rubber on the drums. Today’s sandpaper is so good that it doesn’t deteriorate like it used to when people take off too much wood with too much pressure on the drum for too long. With a riding sander, you can easily go 80 or 100 feet without pulling up the drum for even a second, and that continual sanding generates a lot of heat—so much that the abrasive can become stuck on the melted rubber.
Dress your drum
We always recommend that your drum be dressed, either by doing it yourself (if you know how) or at your distributor if they have a service center. Dressing the drum means that you’re ensuring the rubber will cut flat once the drum is actually on your machine. The reason why dressing the drum is so important is that, whether it’s an OEM or a recovered drum, it is processed on a shaft that won’t be exactly the same as the shaft on your big machine. So when you dress the drum on your big machine, it marries the drum to your big machine. Note that if you have a Hummel, those drums are not designed to be flat—they have a crown, with a very slight football shape—so do not try to dress those drums to be flat.
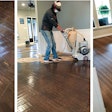
Watch author Jerry Brainerd show some common sanding drum problems:


