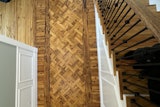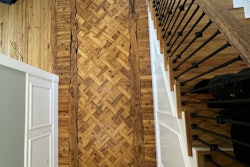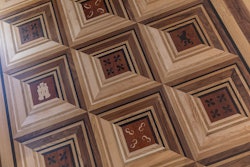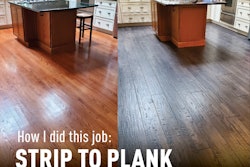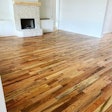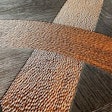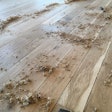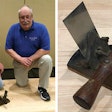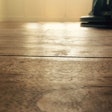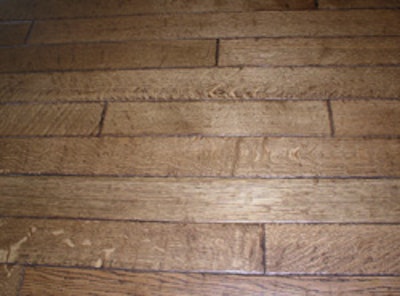
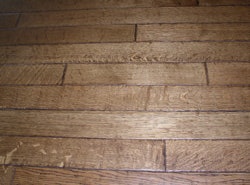
Distressed flooring is one of the hottest looks in the wood flooring industry right now. It seems every factory-finished wood flooring manufacturer is offering some sort of distressed product. These floors are a great option to add to your offerings, but you can really distinguish your skills as a craftsman by hand-scraping flooring yourself. With hand-scraping, each floor becomes a unique work of art. In my contracting business, three-quarters of our work is on hand-scraped floors. We've done everything from floors that look like old barn walls to floors with horse nails and even a bullet lodged in them.
For inspiration, simply look around you. Examples are evident everywhere from old barns to covered bridges. I've spent time poring through books showcasing old European chateaus. The point is to observe how wood actually wears over the years and then to replicate those effects on your floors.
There isn't any one right way to hand scrape a floor, and much of the look will be dictated by your customers' tastes. I can't emphasize enough how important it is to involve the customer in every aspect of these floors. I work with customers to develop samples of floors exactly to their tastes, then do a sample area on the actual floor as a final check. These floors are labor-intensive, so you better be sure the floor is exactly what the customer had in mind before you do all the painstaking work. In our estimating, we figure that one worker will only be able to produce 50 to 75 square feet of flooring per day. Obviously, this means that you better charge accordingly.
With such expensive floors, it's especially important to have the right acclimation. We absolutely will not install a floor that hasn't been acclimated to its job site, which must have the HVAC system operating. A great advantage with these floors is that once they're installed, wear and tear simply adds to the natural character of the floor. Keep in mind that recoating these floors in the future means getting back down on your hands and knees to hand-sand the floor; so be sure to charge enough for that, too. Also, make sure the customer realizes that once the floor is distressed, it is that way forever—there's no going back across the floor with a big machine to flatten it out.
Necessary tools and supplies:
- grinder
- hook scraper
- standard floor scraper
- file
- chisel
- awl
- drill
- colored filler
- putty knife
- maroon pad with 180-grit abrasive strips
Step 1:

You can turn any wood floor into a distressed floor, but plank best lends itself to the distressed look; the floor we're using here is a 3-5-7-inch oak plank. Our first step is to use a 4-inch circular grinder. This gives us a lightly dished out look, replicating years of foot traffic.
Step 2:
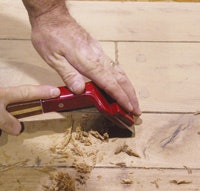
Next, we use a hook scraper to emphasize the worn look throughout the floor. Be extremely careful when sharpening the hook-scraper, and never leave it sitting blade up on the floor (a long scar on my left hand will attest to that careless mistake). Make sure you don't use the scraper in a forward motion, which quickly dulls the blade.
Step 3:
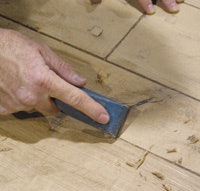
Then, we come back on the floor with the lighter scraper. We use this to "pillow" or "roll" the edges of the boards. When going across the grain on the edges, watch out for chatter. A little bit of chatter works well on a distressed floor, but too much looks unappealing. We also go over the surface of the flooring to lightly clean up the bigger gouges from the hook scraper.
With both scrapers, make sure that the blade isn't flat, which will dig into the floor too much.
Step 4:
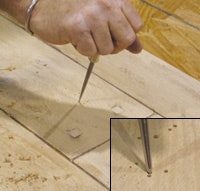
From here, we can add other interesting character marks. Just be sure not to add them in any sort of distinguishable pattern.
One common and easy mark to add is worm holes. Simply take an awl and stab it into the floor with varying force,which will leave holes of different sizes. For larger holes, you can use a drill.
Step 5:
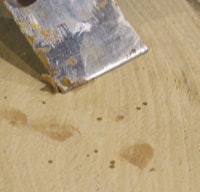
To add to the aged look of the holes, we use different colored fillers in some of the holes.
Step 6:
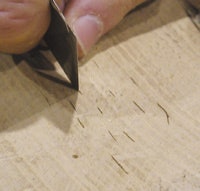
You can use the edge of the putty knife to create the look of larvae trails in the wood, too. Again, make sure they aren't too uniform.
Step 7:
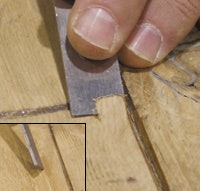
Another good effect is to use the chisel to chip off a part of the end joint, or a little piece of flooring from a board's edge. Once the piece is gone,come back with the light scraper to clean up the jagged grain for an authentic worn look.
You also can use the chisel to whack a few natural-looking dents into the floor.
Step 8:
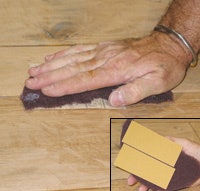
Once all the character marks are added, go over the entire floor by hand with 180-grit sanding strips backed by a maroon pad. On larger floors, you may want to consider wearing gloves to avoid sanding your hand along with the floor. Do not use a sanding machine on the floor for any part of this process.
Step 9:
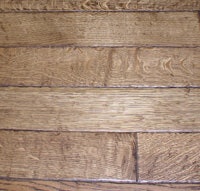
We usually stain our floors, then scrape them again to highlight certain areas. Once we're done, we're ready for finish. Choose the lowest sheen possible. When using polyurethane, you may find you'll need a bonding agent to help between coats (follow the manufacturers' recommendations). Once you're done, you'll have a floor unlike any other.
Assistance for this article was provided by Fred Brotherly, director of technical services at Galleher Hardwood in Santa Fe Springs, Calif.


