
I will be referring to applying any wax/oil blends, like Rubio Monocoat in this case, as "oiling." Oiling is the burnishing of a wax/oil blend into wood. Some products have an accelerator that can be mixed into them that helps dry and cure the oil blend faster. That accelerator turns those blends into not-so-environmentally friendly products, but who’s judging?
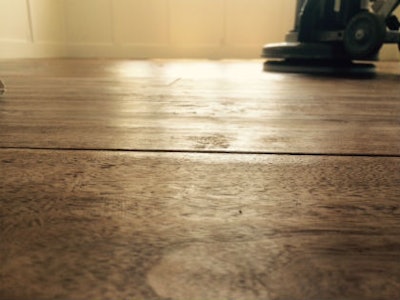
The most common mistake contractors make when it comes to these blends is treating them like surface finishes. They apply a lot of it and forget to wipe off ALL of the excess. Another mistake is improper sanding. Satin surface finishes tend to hide minor scratches, whereas oil blends highlight them. Let me walk you through the process of oiling my hand-scraped walnut floor.

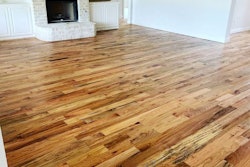
Now, the manufacturer recommended 24 hours of dry time before applying the second coat of a product called maintenance oil. I chose to wait 48 hours, and if I could I would have waited more (note to self: write post about drying times and manufacturer instructions). We came back after two days and applied the oil in the same manner we applied the first coat. The universal maintenance oil provided my clients with a soft sheen. I refer to it as velvety. It is somewhere between the matte and satin sheen levels. It also provided a little more water-resistance.
When we finished oiling, we disposed of the rags in water buckets because they would ignite much like with stain application. That was all for us. I’d like to emphasize the speed of oiling. Some might tell you that oiling is easy or fast. Well, not really. You have to work hard to get it right. The fact is that if you know what you’re doing, the results will be stunning. Rushing the oiling process would result in a disaster job. I have inspected so many jobs that went south with these products all because the contractor did not read the instructions. Read the instructions. They are there for a reason.
That would wrap up this re-scraping blog series (part one, part two). I hope it helped some of you.
P.S. When doing custom work like this hand-scraped floor, please remember to charge accordingly.
P.P.S. No, that is not high enough.
I said accordingly.